
You can learn how to replace a light switch safely with the right steps. Always turn off power at the breaker before you touch any wires. Use a voltage tester to check for live electricity. Over 30,000 non-fatal electrical injuries happen each year when people work with energized parts or uninsulated tools. Gather basic tools before you start. Replacing a light switch is a straightforward DIY project that can instantly update the look and function of a room. However, working with electricity requires absolute caution. Over 30,000 non-fatal electrical injuries happen each year when people work with energized parts or uninsulated tools. By gathering the right tools, turning off the breaker, and taking the time to verify the power is off, you can complete this upgrade safely and confidently.
Key Takeaways
Always turn off the power at the breaker before starting any electrical work. This prevents electric shock and ensures safety.
Use a voltage tester to confirm that the power is off. This step is crucial to avoid accidents while handling wires.
Gather all necessary tools and materials before beginning the project. Being prepared helps you work efficiently and safely.
Follow each step carefully when removing and installing the switch. Double-check connections to ensure everything is secure.
If you encounter issues after installation, check for loose connections or faulty components. Troubleshooting can often resolve common problems.
Safety Precautions for Replacing a Light Switch
Before you start any electrical project, you must focus on safety. Electricity can cause serious injuries if you do not take the right steps. You should always protect yourself and your home by following these safety precautions.
Turn Off Power at the Breaker
You need to turn off the power at the main circuit breaker before you touch any wires. Find your electrical panel. Look for the breaker that controls the room where you want to replace the light switch. Flip the switch to the "off" position. This step stops electricity from flowing to the switch. You should never trust a wall switch to cut power. Always use the breaker.
Tip: Place a piece of tape over the breaker to remind others not to turn it back on while you work.
Use a Voltage Tester
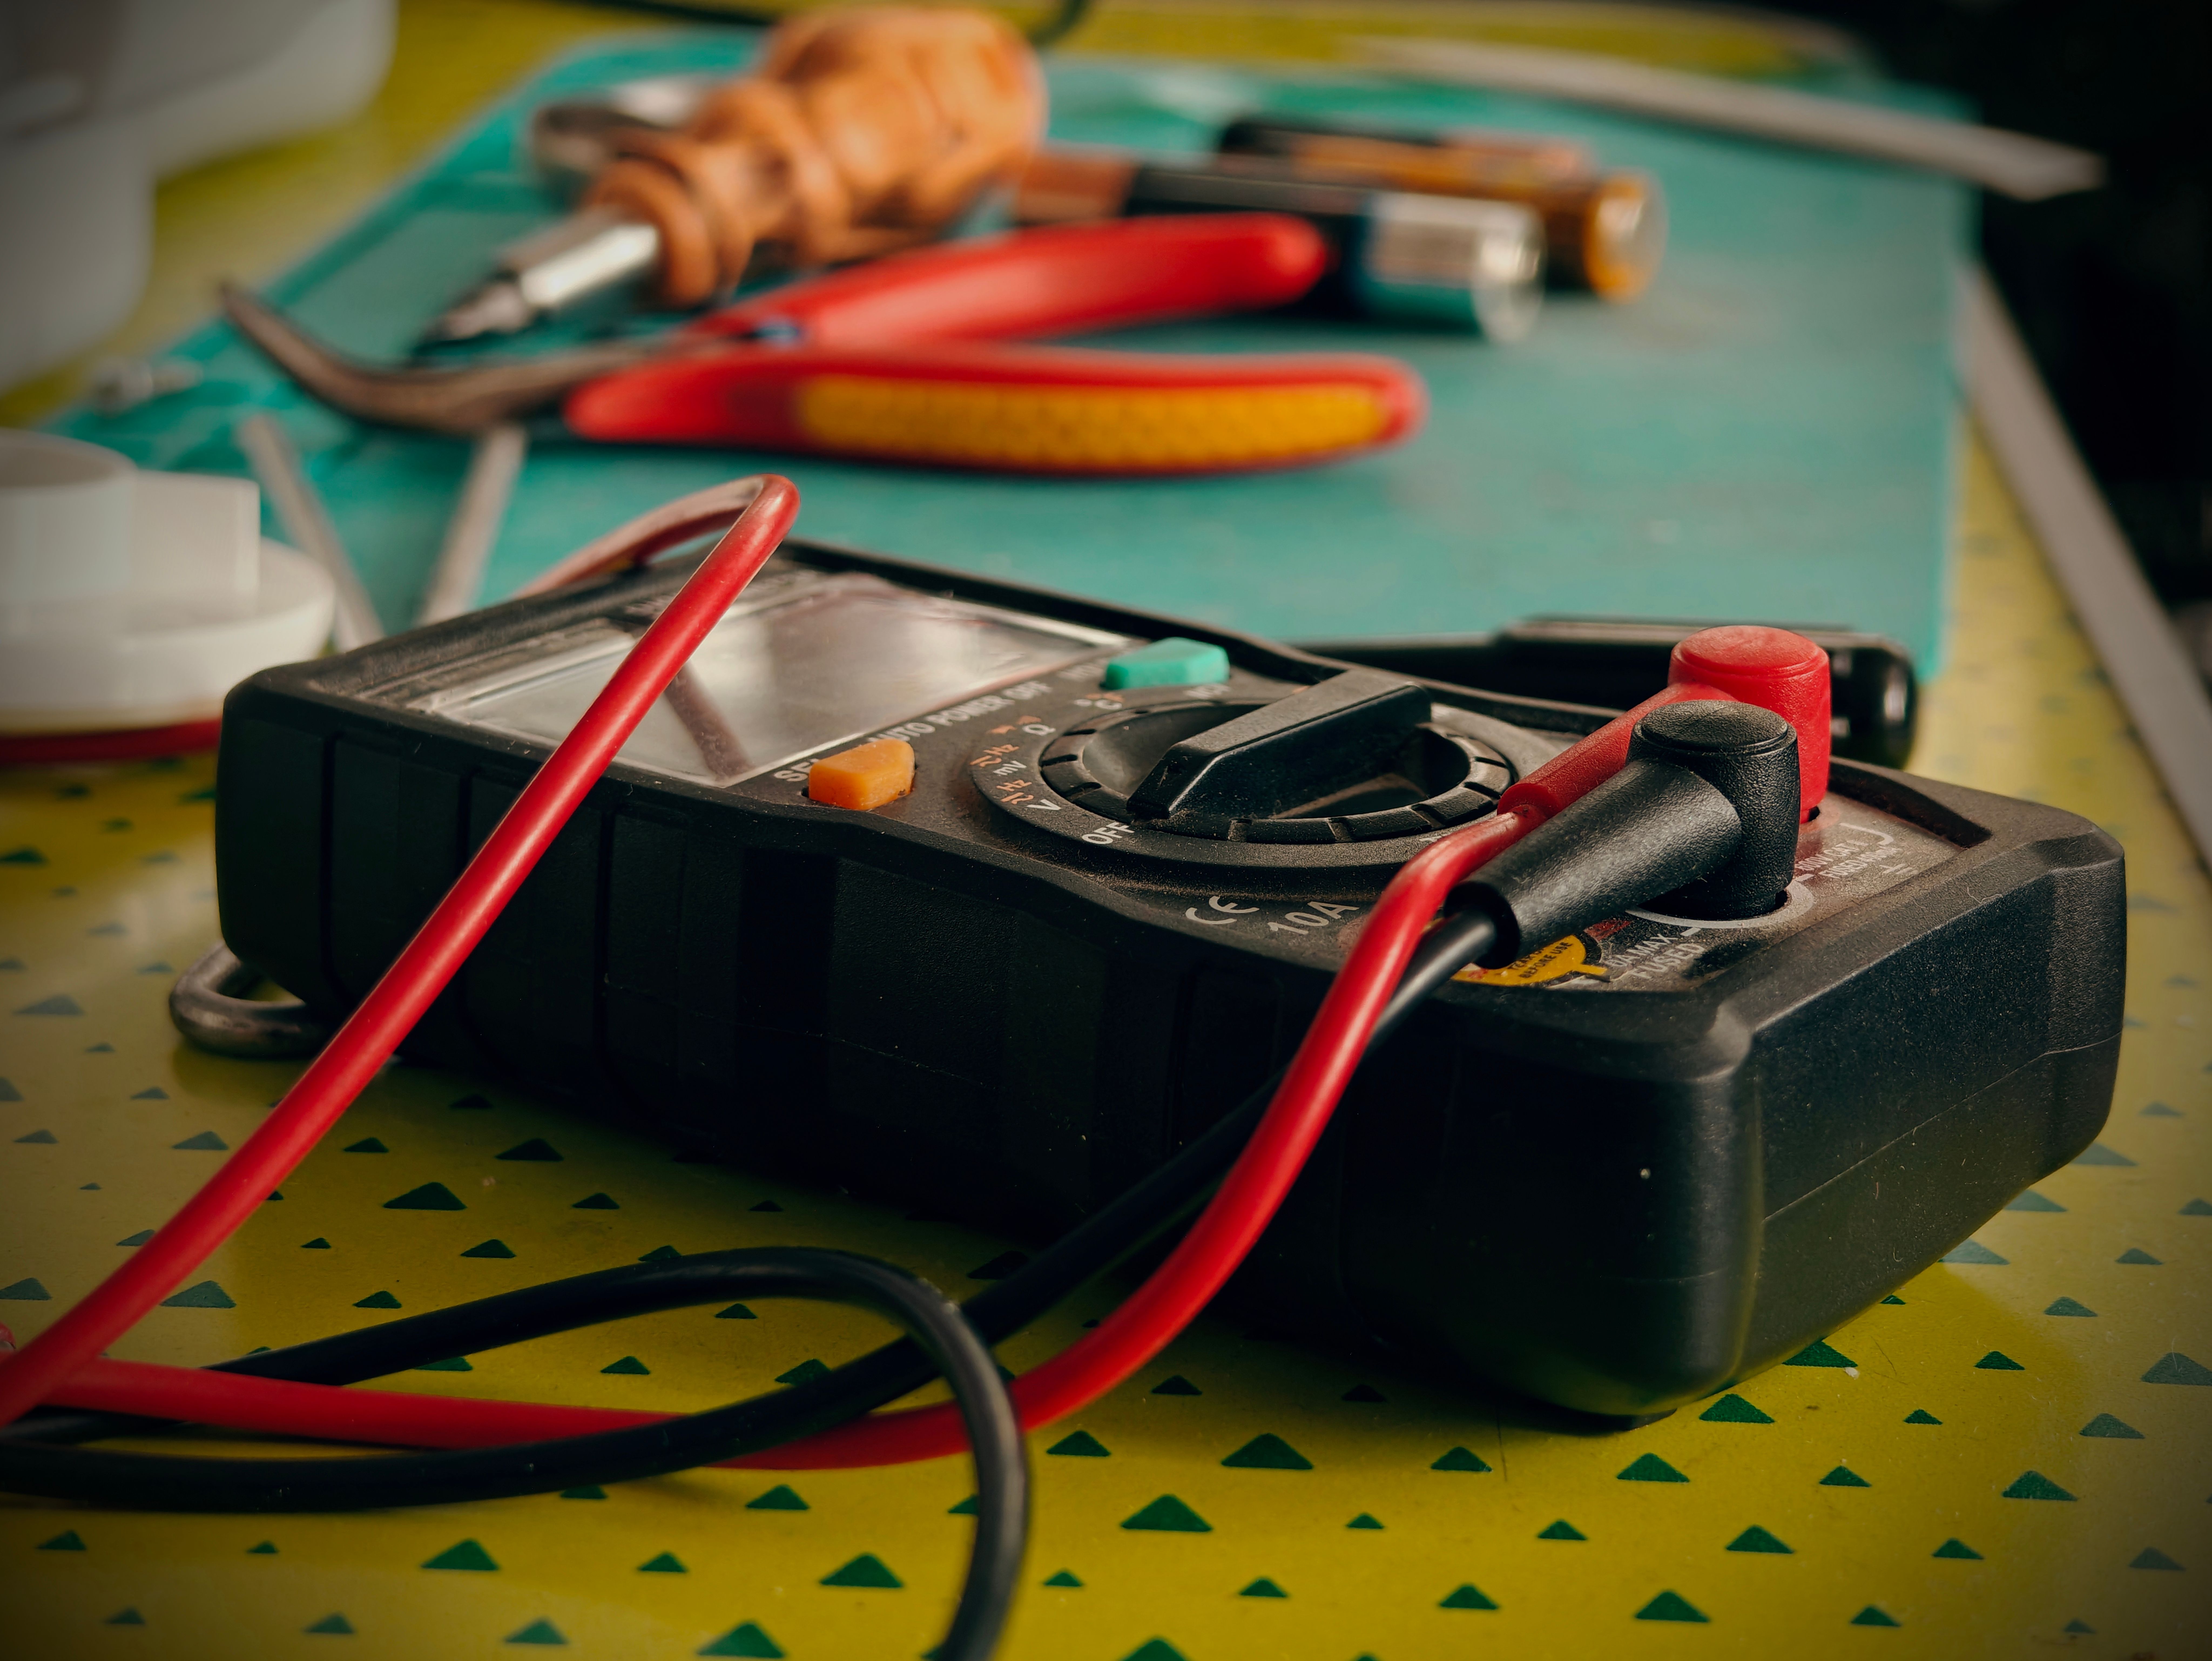
After you turn off the breaker, you must check for electricity at the switch. A voltage tester helps you confirm that the power is really off. Remove the faceplate from the light switch. Hold the voltage tester near the wires. If the tester lights up or beeps, electricity is still present. Do not continue until you get a zero reading.
A non-contact voltage tester is easy to use and safe.
You can buy one at any hardware store.
Check for Live Wires
You should always double-check for live wires before you touch anything. Sometimes, more than one circuit runs through a switch box. Test all wires, not just the ones connected to the switch. Move the voltage tester along each wire inside the box.
Warning: Never skip this step. Even one live wire can cause a shock.
By following these safety steps, you lower your risk of injury. You also protect your home from electrical fires. Always stay alert and careful when working with electricity.
Tools and Materials Needed
Before you start replacing a light switch, you should gather all the necessary tools and materials. Having everything ready will help you work safely and efficiently.
Essential Tools List
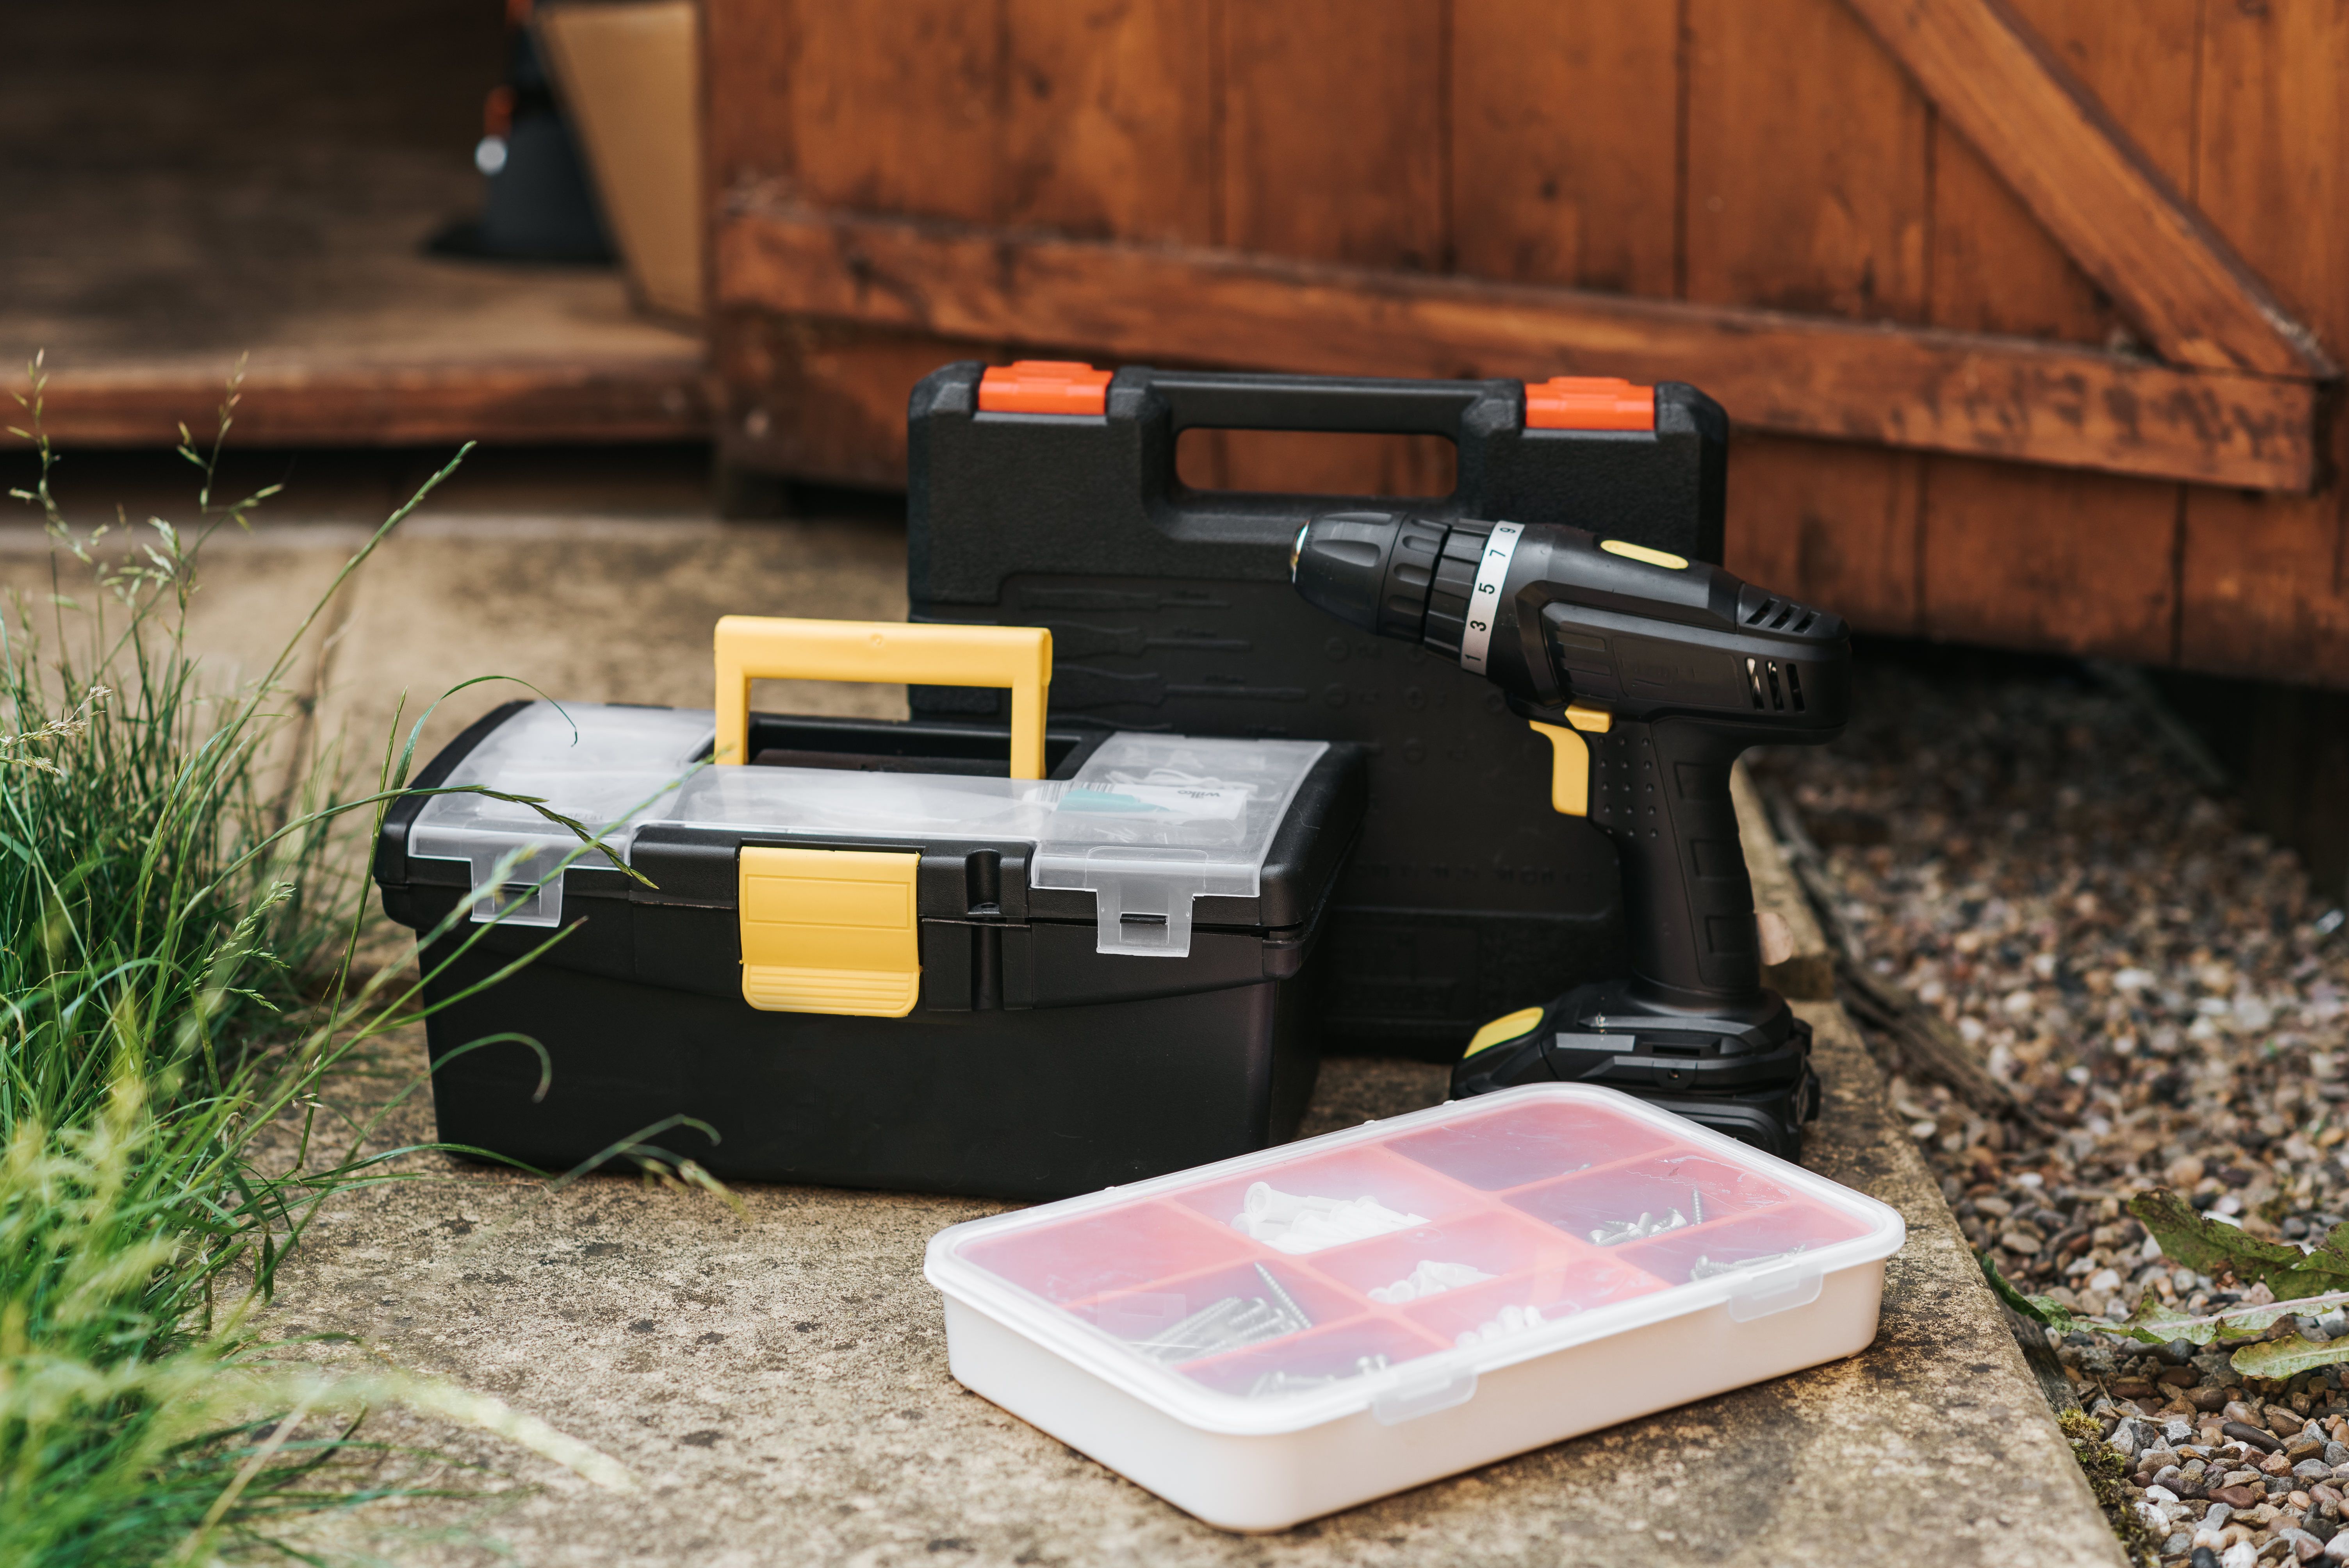
You need a few basic tools to replace a standard light switch safely and correctly:
Phillips and Flathead screwdrivers (for removing faceplates and loosening terminal screws)
Non-contact voltage tester (to confirm the power is off)
Multipurpose wire strippers/cutters (to remove insulation and trim damaged wires)
Long-nose pliers (to twist the exposed copper wire into a hook/loop)
Wire nuts (to safely cap and connect any bundled wires)
Tip: A non-contact voltage tester is your most important tool—it prevents accidental shocks before you touch any wires.
Materials Checklist
You also need the right materials for a safe and secure installation. The table below shows common items you may need for this project based on standard US residential wiring.
Material/Tool |
Description/Use |
Light Switch |
Standard single-pole switch (choose from functional plastic or stylish finishes). |
Electrical Box |
Standard US wall box. (Some dimmers or smart switches may need deeper boxes). |
Wire Nuts |
Wire connectors (usually yellow or red) to securely join wires together. |
Voltage Tester |
A non-contact voltage tester to confirm the power is truly off before you start. |
Screwdriver |
Phillips and flathead screwdrivers for faceplates and terminal screws. |
Extra Wire (Pigtails) |
14-gauge or 12-gauge solid copper wire (black, white, and bare/green) if you need to extend short wires. |
Electrical Tape |
Used to wrap around the switch's side screw terminals for an extra layer of safety. |
Note: Always check the depth and crowding of your electrical box before installing a new switch, especially if you plan to use a bulkier dimmer or smart switch.
Optional Safety Gear
You can increase your safety by using specialized gear. These items protect you from accidental shocks and injuries.
1000V-rated insulated screwdrivers and pliers
Electrical safety gloves
Safety glasses
Non-slip shoes
Safety Reminder: Insulated tools and protective gear add an extra layer of protection when working with electricity.
By preparing these tools and materials, you set yourself up for a smooth and safe light switch replacement.
Steps to Replacing a Light Switch
Replacing a light switch may seem intimidating, but you can do it safely by following clear step-by-step instructions. Most beginner DIYers should set aside about an hour for this project. This time allows you to work carefully, read instructions, and double-check each step for safety and accuracy.
Remove the Faceplate
Start by removing the faceplate that covers the light switch. This plastic or metal cover protects the wiring.
Apply gentle force to the faceplate. It is designed to snap on and off.
Place the faceplate and screws in a small container so you do not lose them.
Confirm Power is Off (Critical Safety Step)
Before you unscrew the switch from the wall or touch any wires, you must confirm the power is truly off. Do not rely on breaker labels.
Hold a non-contact voltage tester near the exposed switch terminals and the wires inside the box.
If the tester lights up or beeps, the circuit is still live. Turn off the correct breaker and test again.
Do not proceed until you get no light or beep from the tester.
Safety Note: It is crucial to verify that the circuit's power is off using a circuit tester. This step prevents electrical shocks and keeps you safe.
Unscrew and Pull Out the Old Switch
Once you confirm the power is off, you can safely handle the switch.
Use a screwdriver to loosen the top and bottom screws holding the switch to the electrical box.
Gently pull the switch out from the wall so you can easily access the wires. Do not disconnect the wires yet.
Tip: Take a clear photo of the wiring now. This helps you remember where each wire goes.
Disconnect Wires from Old Switch
With the power confirmed off, you can disconnect the wires from the old switch. You will usually see three types of wires: black (hot), white (neutral), and green or bare (ground). Follow these steps:
Loosen the terminal screws on the sides of the switch holding each wire.
Gently pull the wires free. If the wires look frayed or corroded, trim the damaged ends.
Use wire strippers to expose about half an inch of fresh copper if necessary.
Connect Wires to New Switch
Now you are ready to connect the wires to your new light switch. Make sure the ends of the wires are clean and straight. Here are the steps to follow:
Prepare the wires: For each wire, strip about 1/2 inch of insulation. Twist the exposed copper end into a clockwise loop using long-nose pliers.
Connect the ground: Attach the bare copper or green ground wire to the green ground screw on your new switch. Hook the loop clockwise around the screw and tighten it.
Connect the power: Hook the loop of the black "hot" (Line) wire from the wall around one of the brass or dark terminal screws. Tighten the screw so it pulls the loop tighter. This supplies the incoming power.
Connect the load: Attach the load wire (often red or black) that goes to the light fixture to the other brass terminal screw on the switch using the same clockwise loop method.
Handle the neutrals: Leave the white neutral wires bundled together in the back of the box with a wire nut. A standard single-pole switch does not connect to the neutral wires.
Check connections: Ensure any wire extensions or bundles are capped with wire nuts. Twist them tightly to ensure a secure fit.
Note: You only need to connect to the white neutral bundle if you are installing a smart switch that explicitly requires a neutral connection.
Secure the New Switch and Faceplate
After connecting the wires, you need to secure the new switch in place. Gather your screwdriver and double-check your work:
Carefully push the wires back into the electrical box.
Align the switch with the mounting holes and tighten the screws. Make sure the switch sits straight.
Place the faceplate over the switch and snap or screw it into place.
Check that all screws are snug, but do not overtighten.
Tip: A properly aligned switch and faceplate look neat and prevent future problems.
Restore Power and Test
You have completed the installation. Now it is time to restore power and test your work:
Turn the breaker back on at the electrical panel.
Use a non-contact circuit tester to check for power at the switch.
Listen for any unusual noises, such as crackling or buzzing. These sounds may indicate a wiring issue.
Feel the switch for heat. A warm switch could mean a loose connection or overloaded circuit.
Toggle the switch to make sure the light turns on and off as expected.
If everything works smoothly, you have successfully completed all the steps to replacing a light switch. If you notice any problems, turn off the power and double-check your connections.
Congratulations! You now know how to change a light switch safely and confidently.
Troubleshooting and Common Mistakes
If the Switch Doesn’t Work
You may finish installing a new light switch and find that it does not work. Do not worry. You can solve most problems with a few simple checks. Follow these steps to find the cause:
Inspect the light fixture. Make sure the bulb is not burned out and the fixture is in good condition.
Replace any burned-out bulbs. Sometimes, the problem is as simple as a bad bulb.
Check for loose wire connections. Tighten all connections to ensure electricity flows properly.
Examine the wall switch. Look for any visible damage and confirm that all wires are secure.
Test the switch terminals. Use a continuity tester to see if the switch works as it should.
Tighten screw terminals. Loose terminals can cause flickering or prevent the switch from working.
Replace the switch if needed. If you have tried all the steps above and the switch still does not work, you may have a faulty switch.
Tip: Always turn off the power at the breaker before you touch any wires during troubleshooting.
Common Errors When You Replace a Light Switch
Many people make the same mistakes when replacing a light switch. Knowing these errors helps you avoid them and keeps your project safe. The table below lists frequent mistakes and explains how to prevent them:
Mistake |
Explanation |
Loose wires can cause resistance, heat, and even fires. Always tighten connections securely. |
|
Incorrect Wiring |
Connecting the switch to the wrong wire can create shock hazards. Double-check that you use the hot wire. |
Safety First: Power Down |
Failing to turn off the breaker can lead to electric shock. Always power down before starting any work. |
Inspect and Tighten Connections |
Skipping regular checks can cause malfunctions. Tighten all connections before finishing the job. |
Note: Careful work and double-checking each step will help you avoid most problems.
Other Switch Types
Three-Way Switch Steps
A three-way switch lets you control a light from two different locations, like at the top and bottom of stairs. It uses more wires and terminals than a standard switch. The table below shows the main differences between a standard switch and a three-way switch:
Feature |
Standard Switch |
Three-Way Switch |
Number of Switches |
1 |
2 |
Terminals |
2 (Power source and light fixture) |
3 (Common and 2 traveler terminals) |
Wiring Complexity |
Simple |
More complex with traveler wires |
Control Locations |
Single location |
Multiple locations |
To replace a three-way switch, follow these steps to avoid mistakes:
Remove the switch plate and switch by unscrewing the cover and carefully pulling the switch out with wires attached.
Locate the "Common" terminal on the old switch (this screw is usually black or noticeably darker than the other two brass traveler screws).
Before disconnecting anything, wrap a piece of electrical tape around the wire connected to this Common terminal to label it. (Do not rely on wire color; the common wire could be black, red, or even white).
Disconnect the wires and connect them to the new switch. Make sure your labeled wire goes to the dark Common screw on the new switch. The other two traveler wires go to the remaining brass screws (their order does not matter).
Attach the bare or green ground wire to the green ground screw.
Screw the switch into the box, attach the cover plate, restore power, and test.
These steps to replacing a three-way switch require more attention than the steps to replacing a single-pole light switch because of the extra wires and terminals.
Four-Way Switch Steps
A four-way switch works with two three-way switches to control a light from three or more locations. Replacing it involves some unique challenges:
Cut power to the circuit before starting.
Label all wires with tape to keep track of their connections.
Notice that the screw connectors on the new switch might be in different positions than the old one.
Attach any green ground wires to the ground terminal on the new switch.
Pay close attention to wire placement to avoid wiring errors. Four-way switches add complexity, so take your time.
Dimmer Switch Steps
If you want to install a dimmer switch, you can replace a standard switch to control light brightness. Follow these steps:
Turn off power at the breaker and confirm with a voltage tester.
Remove the existing switch and faceplate.
Disconnect the wires, noting their positions by taking a photo.
Strip wire ends if needed to expose clean copper.
Connect the black wires to the dimmer’s black and load terminals. Attach the green or copper wire to the ground terminal. Use wire nuts to secure connections.
Screw the dimmer switch into the box and attach the faceplate.
Restore power and test the dimmer switch.
When you install a dimmer switch, watch for flickering lights, buzzing noises, or warm switch plates. These signs may mean the dimmer is not compatible with your bulbs or wiring.
Tip: Always check bulb compatibility before you install a dimmer switch to avoid issues.
By understanding how to wire a light switch for these different types, you can upgrade your home lighting safely and effectively.
You should always double-check every step and focus on safety when you replace a light switch. After you finish, use a voltage tester to confirm all connections are secure and the circuit is safe. Watch for signs like warm switches, flickering lights, or unusual sounds. These mean you should call a licensed electrician. For long-term reliability, keep the switch area dry and inspect it regularly. If you want to learn more, these resources can help:
Resource Title |
Description |
A guide that discusses the costs and considerations involved in changing light switches, including safety and compliance with electrical standards. |
|
The DIY Guide to Safe Electrical Repairs |
This guide emphasizes the importance of using insulated tools for safety during electrical repairs, providing essential tips for DIY enthusiasts. |
You can feel proud when you complete a DIY project safely and confidently!
FAQ
Can you replace a light switch without turning off the power?
You should never replace a light switch with the power on. Always turn off the breaker first. This step protects you from electric shock and prevents accidents.
What if the wires look different from the instructions?
Take a clear photo of the wiring before you disconnect anything. This photo helps you reconnect the wires correctly. If you feel unsure, contact a licensed electrician.
How do you know if a light switch is bad?
A faulty switch may feel hot, make crackling sounds, or fail to turn the light on or off. Replace the switch if you notice these signs.
Do you need a permit to replace a light switch?
Most areas do not require a permit for simple switch replacements. Check your local building codes to be sure. When in doubt, ask your city’s building department.
What tools do you need for this project?
You need a screwdriver, voltage tester, wire stripper, and the new switch. Insulated gloves and safety glasses add extra protection.
Share:
Incandescent vs fluorescent lighting which saves more energy
A Quick Guide to Finding the Perfect Light Bulb Base Size